

This guide to create and sell online courses will explain important steps to creating an online course, which online course creator tools are most widely used, and how to sell courses online.

Why Create and Sell Online Courses?
In lieu of our collective pandemic-instigated economic dumpster fire, making the choice to create a course online has been a golden parachute for people who are under mandatory lockdown and/or unable to find remote work.
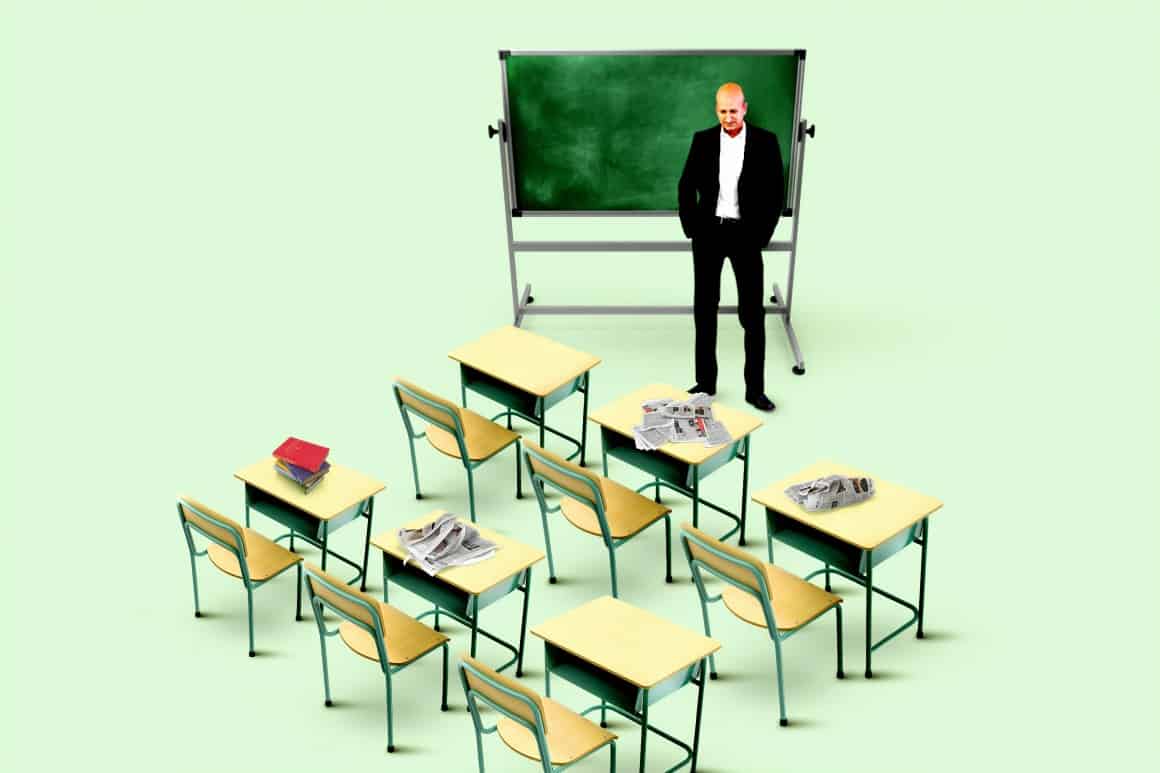
In-person learning is dead for the foreseeable future, classrooms are empty, and online courses are a massive opportunity to get ahead for anyone taking them, or creating them.
For those who buy online courses: Competition for remote jobs became murderously fierce overnight, people in your city and your social circles are looking for online courses to upgrade the skills they offer prospective employers.
For those who make online courses: Learning how to create and sell online courses is one way to pay the rent, generating a passive income while you sleep, on skills and experience you already have.
tl;dr
As a course creator and affiliate marketer, I can tell you that there’s nothing quite like waking up to “You’ve got money!” alerts from PayPal.
As someone who spends between $5k – $12k every few years on online courses, I know that they’re the quickest way to level up or learn a more productive way to do something.
Once you start your own business and make the same, or more, than what you did at a regular job, there’s no going back. I’ve been unemployable for a decade or so, no safety net –what I’ve learned from taking online courses is worth at least 20x their dollar value.
Whether you’re taking courses, or making them –elearning is money in the bank.
How to Create an Online Course
Learning how to create a course online from scratch isn’t as complicated as one might initially think, you could absolutely put one together in a weekend if you know your subject, inside and out.
Although, there are some important steps to creating an online course to keep in mind.
Before you continue reading this article I ask you to mentally wipe the slate clean, and knock off any distracting assumptions you have about how to build an online course.
Before We Get Started
Before you begin to create online courses there are a few things to keep in mind;
A short course that teaches one thing really well and relieves an immediate pain point quickly is often more rewarding for students than a long-winded course that no one ever finishes —leading to more positive reviews, more social proof, and less charge-backs.
Focus on one pain point for your course, and teach students how to solve a problem with the minimum amount of steps possible –the sweet spot is around 10-12 lessons. If you’re tackling an advanced topic, you can bundle tiers together or sell them separately.
Each course lesson you create will have corresponding materials, whether they be text, video, photos, PDFs, or the like. Keep your course materials organized in folders as you create them, like a table of contents, for easy uploading later.
A good course doesn’t require much housekeeping, like answering questions from students and so on. Listen to students and update your course a few times after it’s launched to ensure that you’re not spending more time than you need to on things you could make clearer within your online course.
Traditional course content formats include; video, podcast/ebook-style audio, written text on-screen or in PDF, images, and even links or videos from public sources. Some courses are merely a compilation of resources from around the internet.
Think back to your high school or college days –did your professors painstakingly create everything they photocopied and handed out all to students, by themselves?
You can link out to news articles, videos from Youtube, and so on. As long as your students are viewing these resources “where they live” and you’re not illegally reproducing them, you should be fine, from a copyright perspective.
Make your course with people you sort of already know in mind –scavenge groups you’re in for questions you know you can answer. Answer those questions initially, make ‘friends’ with the people who you assist, because they will be your customers later. In a nutshell, that’s the fastest way to market your course when it’s complete. It’s a long game.The average spend on a course ranges from $99 – $1999, remember that. Focus on teaching skills that put money in your student’s bank so you can charge more.
If you’ve never taken an online course before, I suggest trying one out so you can see how it all comes together. I highly recommend Coursepreneur X by James Burchill to explain the steps to creating an online course, while allowing you to experience an online course from the perspective of a student. Win/win.

Expenses, Tools, and Gear
This is the “what’s it going to cost me, Mike?” section of the article. Good news, you can make an online course for free, and only pay a nominal fee for hosting services and transaction fees after you start selling your courses.
Don’t let gear complicate matters. The best camera is the one you’ve got.
You could make an online course with your cell phone, and edit your footage on free software included with Windows or MacOS. Your phone is all the megapixels you need, and you don’t need to be Ridley Scott to edit a video.
However, if you’d like to improve upon the production quality of the courses you’re selling, the following short list of tools and gear is for you.
In this section we’ll look at a distilled selection of cameras, microphones, optional accessories, online course creator software, and online course builders to host your courses.
Video Camera
Let’s take a brief look at 3 different camera options to consider before you create an online course.
+ Built-in laptop webcam
+ Smartphone camera
+ Logitech webcam
Built-In Laptop Webcam
It’s been done time and again, so I won’t say that it’s unacceptable to use your built-in laptop webcam to create a course. Although, on most laptops, these cameras are more of a basic utility than something you’d use to record a course you plan to sell.
Laptop cameras are often grey and grainy, and they film more of your chin and neck than your face, head-on. Their placement and recording quality are an issue in many cases. But if this is all you’ve got –go for it, many have made money selling courses with this basic camera setup.
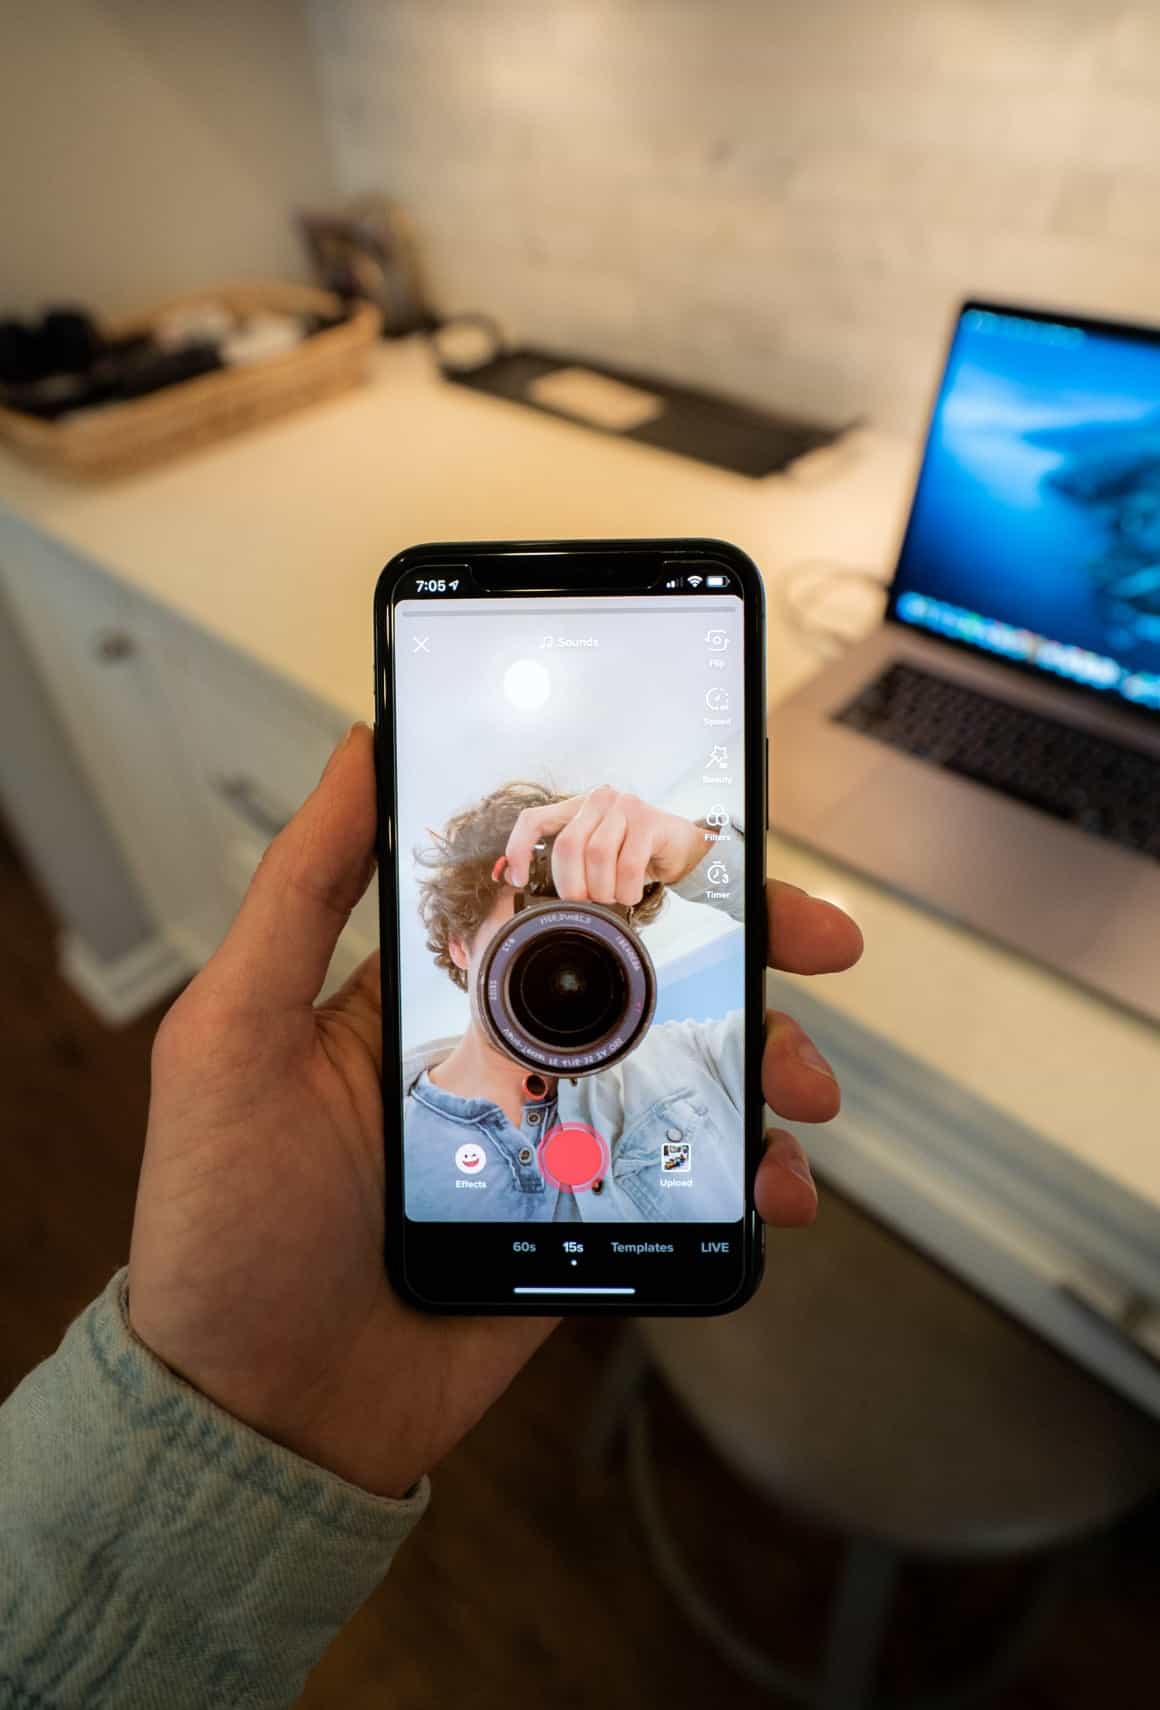
Smartphone Camera
A step above your laptop camera would be just about any smartphone you already own. They’re made to point-and-shoot so their color palette is larger and the image is clear, your appearance won’t look too grey, washed out, or red in the final product.
If you use a smartphone camera to create online course, just make sure that you use it tilted sideways, in widescreen orientation.
The only caveat of any camera setup is that the built-in microphone picks up a lot of white noise, so I’ll suggest a cheap lapel mic you can plug into your smartphone later in this guide to avoid it.
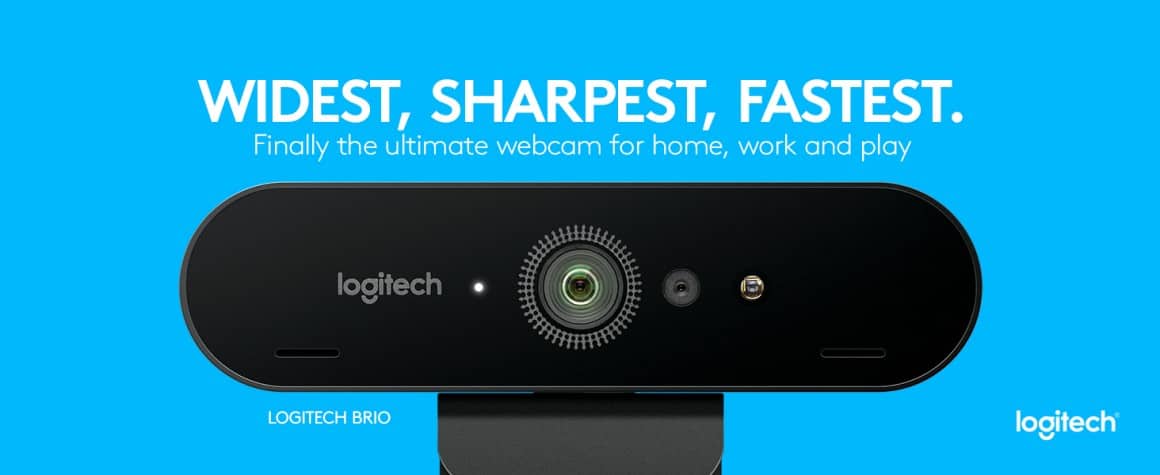
Logitech Webcam
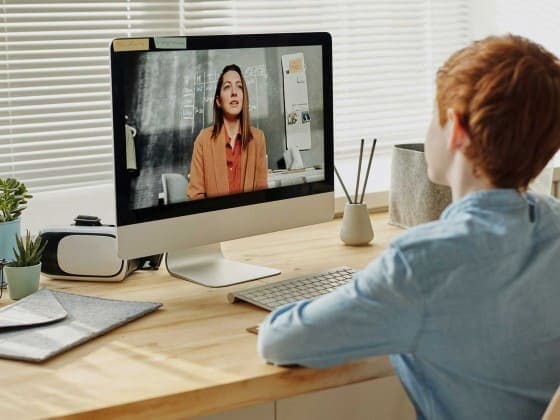
We explored numerous high definition webcams while exploring how to create online courses and the one that kept coming up was the Logitech Brio, which can record video at 4k/30fps, 1080p/60fps, or 720p/90fps.
It is the webcam we use for course creation and online video conferences, and we’re very happy with it.
The Logitech Brio is business-class; it’s made for video conferencing and streaming. It’s got a 90-degree field of view setting, background removal/blur, and the highest resolution recording quality possible over a regular USB cable without requiring an additional capture card (USB C to A cable included).
If you’re not interested in recording with 4k video quality, we suggest it’s little siblings:
+ Logitech Streamcam (up to 1080p/60fps)
+ Logitech C922 Pro (1080p/30fps, 720p/60fps)
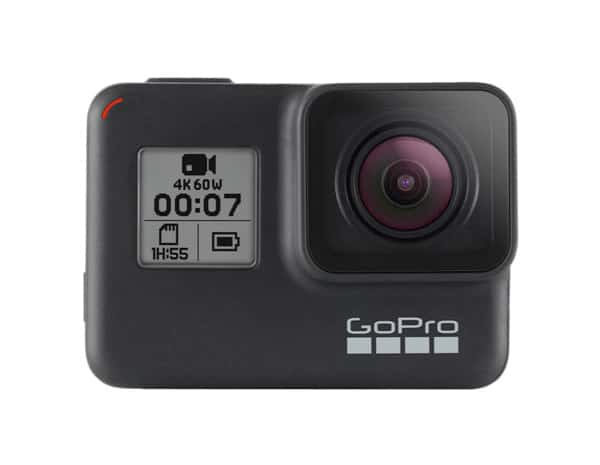
Can I Use My GoPro?
Yes, but it’s a little complicated. If you use your GoPro independently, as in, not connected to your computer during recording, you’d need to record your audio on a separate device and line up your audio track to your video track when editing.
If you wanted to connect your GoPro to your computer and use it like a webcam, you’d need to route it through something like this HDMI/USB capture card by Magewell to make it work. We explored this option because we thought it would be more economical, and it wasn’t.
A GoPro will not work like a webcam without an HDMI/USB capture card, and because of this we found using a GoPro to record our online courses cost prohibitive.
Microphone
For the sake of simplicity, we suggest one or both of the following two popular microphones to create an online course, depending on what hardware you’re using to record your course materials. We use both of these mics for courses we create and sell.
Smartphone Lavalier Lapel Microphone
This lavalier lapel microphone is the best option for recording the “talking head” portion of your online courses with your smartphone or tablet, not your laptop. Your audio and video will be recorded as one track using the default video app on your device, and imported onto your computer for further editing.
This mic is also great for recording podcasts and audiobooks on your phone.
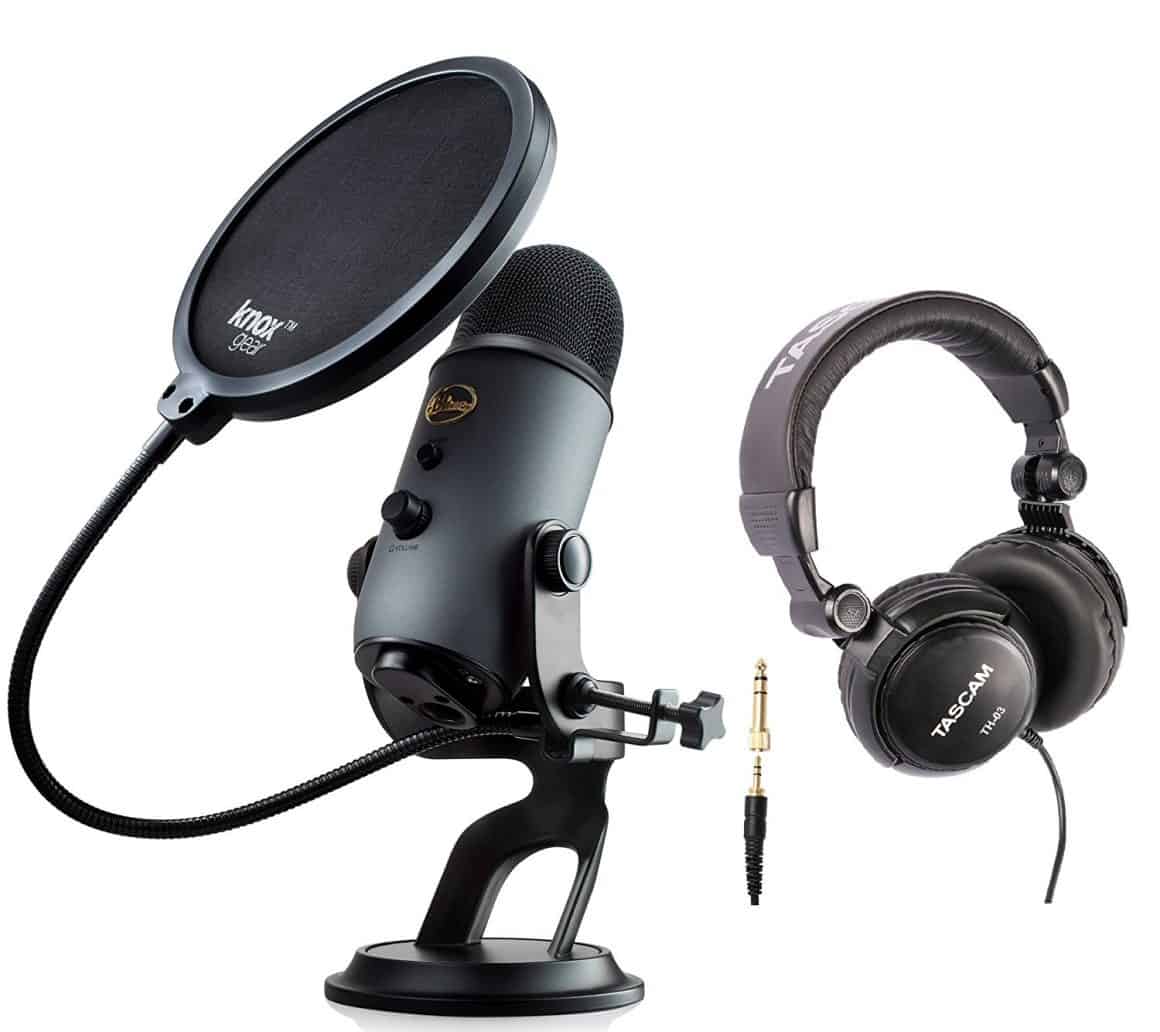
USB Blue Yeti Microphone
The Yeti microphone by Blue is probably the most well-known microphone for podcasters, YouTube streamers, and people who sell online courses –this mic is for recording courses on your laptop.
There’s plenty of reviews out there online, but we’ve got one and I think buying either of these mics is a no-brainer.
Video Editing Software
The default video recording and editing software that comes with Mac OS and Windows will often do the trick for short courses that require little post-production, although you do have other options.
Screenflow and Camtasia
If you’re looking for more professional-looking animations, text effects, and high quality screen recording, I suggest you take a look at Screenflow (Mac OS) or Camtasia (Mac OS and Windows).
In my opinion, either is easier to use than the default video editing software that comes with your operating system.
You only need one. We use Screenflow just because I’d been using it for website walk-throughs for many years, back when I was a web designer and before I got into creating online courses.
You may have heard about top-tier industry-grade software like Final Cut (Mac OS) or Adobe Premier (Mac OS and Windows). In my opinion, they’re much more advanced and may not be suitable if creating online courses is all you’re after, as a beginner. The learning curve with these more advanced applications is real.
No matter which software you choose, they will have comprehensive documentation and support. I didn’t think it suitable to veer off into going any deeper within this guide for each one these online course creator video software options. Keep it simple!

Online Course Builder Platforms
Once you’ve assembled your online course, you’ll need to put it online using a course builder for people to find it, pay, and enroll.
A course builder is not a site where you record video, it’s the place where your finished course is served to students for elearning.
You have a choice; pay now, or pay later. Build your own website for your courses (advanced), or use a plug-and-play online course creator service like most people do.
Easy Route
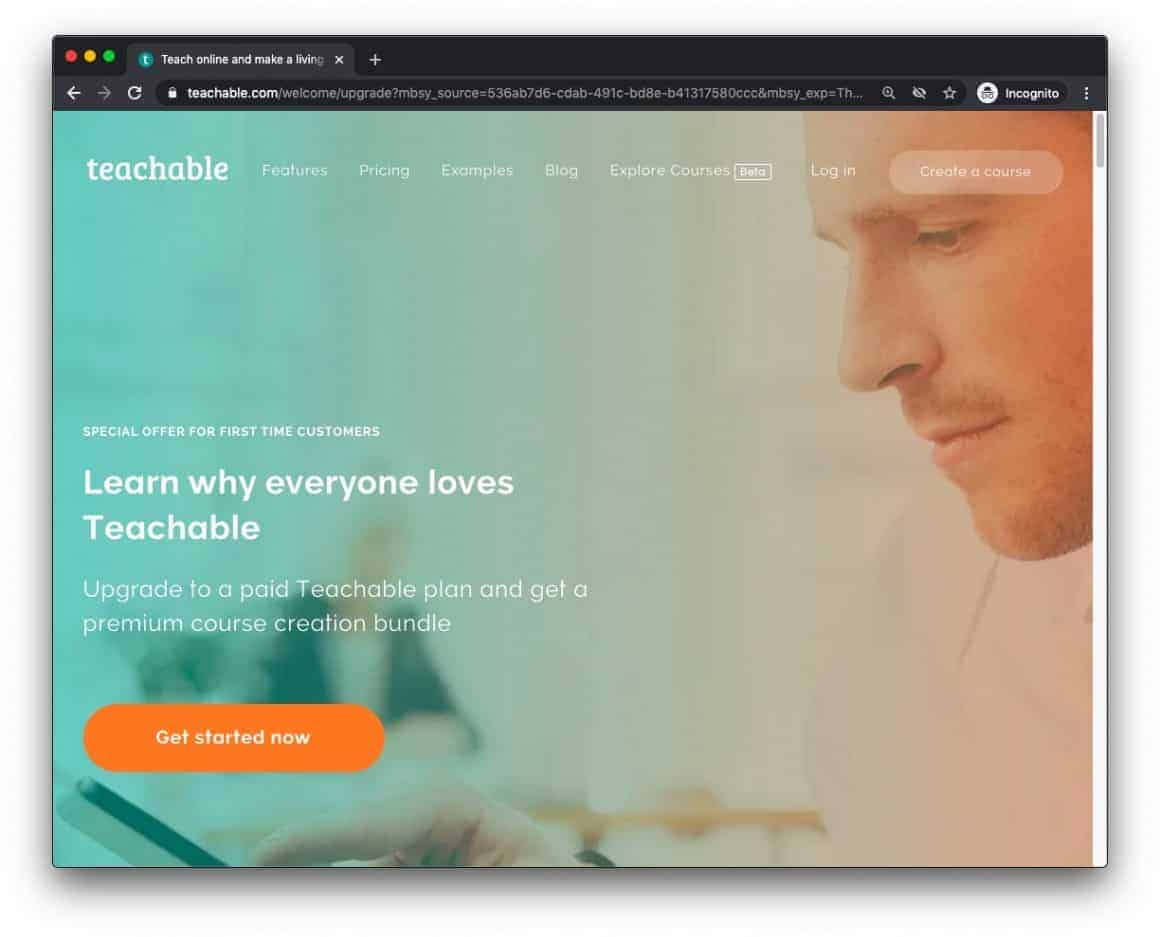
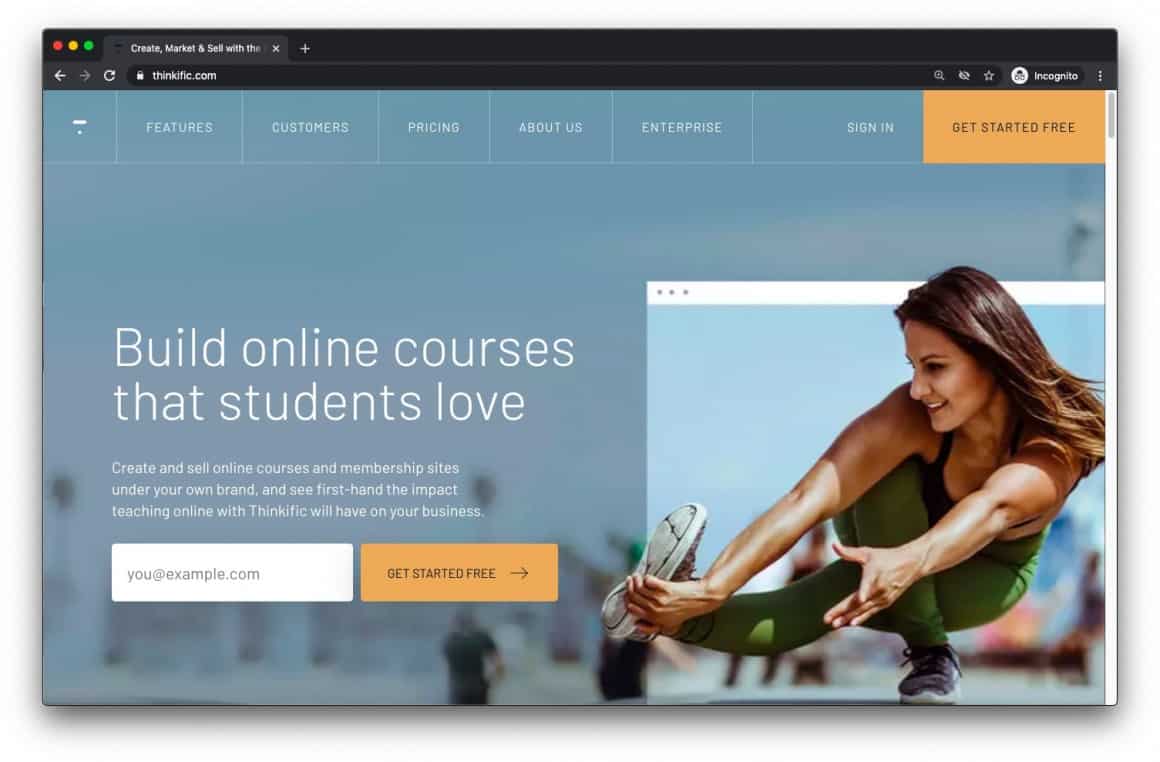
Teachable, Thinkific, and Podia are the easiest, most popular routes to selling courses online because they’re ready to go –all you need to do is upload your course and they’ll provide the course environment for your students, accept payments on your behalf, and then send those payments to your PayPal account.
Each has their own unique pricing model. They usually offer a “free” tier, with higher transaction fees on every sale, and a “premium” tier, where you pay a little every month but your transaction fees on each sale are much lower.
They all offer some kind of “freemium” business model that is very advantageous because it can grow with you, and eliminates all of your upfront costs as an online course creator. If you’re just starting out, opt for the “free” tier and upgrade to “premium” once you hit a certain number of users.
As an example, we wrote about Pinterest Traffic Avalanche by Create and Go. They use Teachable to host their course, and as their student, we’re pleased with the online course creator environment that Teachable offers.
Elearning marketplaces like Udemy and Skillshare are the ire of course creators, because they often run promotions where they’ll take your $299 course and sell it for $12 –and you can’t do anything about it. Own the racecourse! As a creator I avoid these marketplace sites.
We highly recommend you read our guide to selling online courses before you start selling your own –in it we expand on course creator platforms, in greater detail.
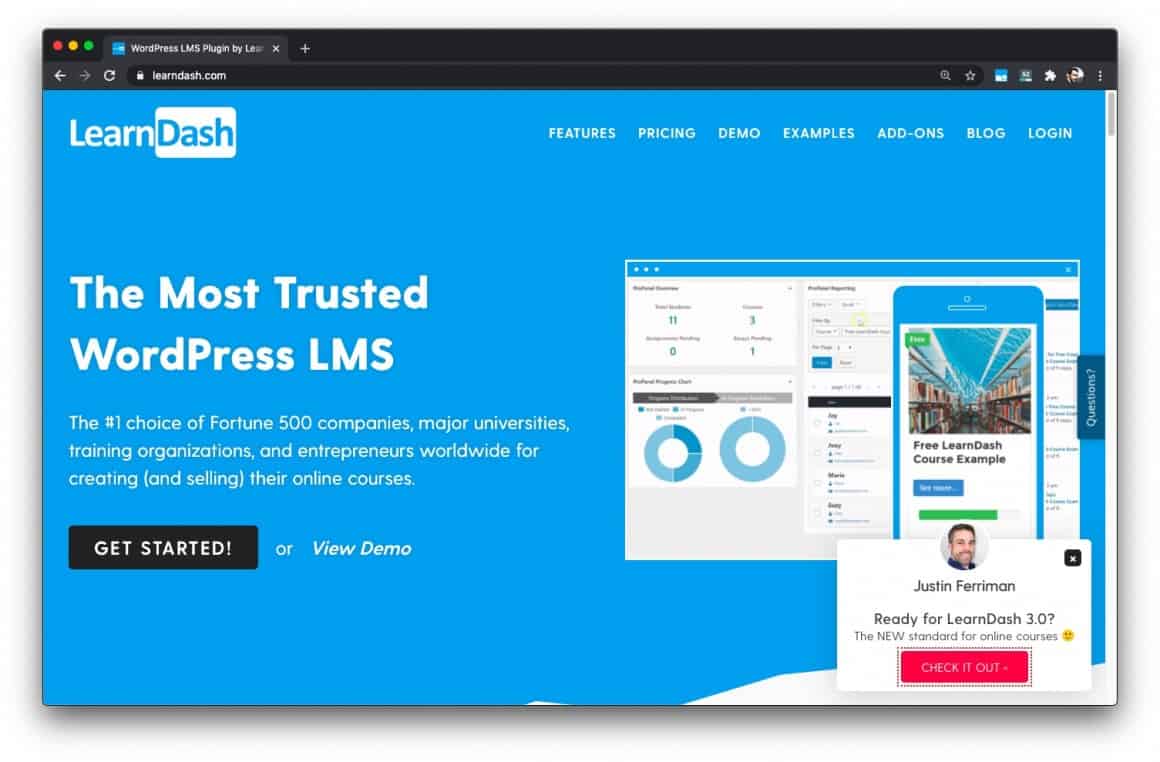
LearnDash
With WordPress and LearnDash as your online course creator platform, you’ll need to put it all together yourself. And because it’s more complicated and they have wonderfully thorough documentation and explainer videos –I’ll leave that option on the table for you to explore.
Worth mentioning, with this advanced option you’ll likely want to host your videos on a third-party video hosting platform like Vimeo or Wistia. It’s cheaper and faster than most website hosting, and they have some security measures to prevent the piracy of your course videos.
If you want to learn how to get started with your own WordPress site, click here.
Exclusive Discount for Vimeo:
Traditional WordPress hosting is not ideal for hosting video by itself.
We use Vimeo to host course videos included within our own LearnDash installation because it plays videos quickly, without lag or buffering.
Students really appreciate that they don’t have to wait to watch a video!
You can get a free trial and 25% off Vimeo with this link.
Let’s Recap
We covered a lot of ground in this guide. Let’s go back and take it from the top.
After you’ve considered our “before you start” notes, you’ll need a microphone, a camera, video editing software, and a place to put your courses so students can pay you to take them, and enroll.
If you’d like to get more granular and learn all of the steps to creating an online course while experiencing a course as a student –which we highly recommend– check out Coursepreneur X by James Burchill. Right now it’s only $99 bucks, and it’s well worth the price.
Truly, there is no secret sauce. Making online courses and selling them has been a reliable source of income for many, since the inception of the internet.
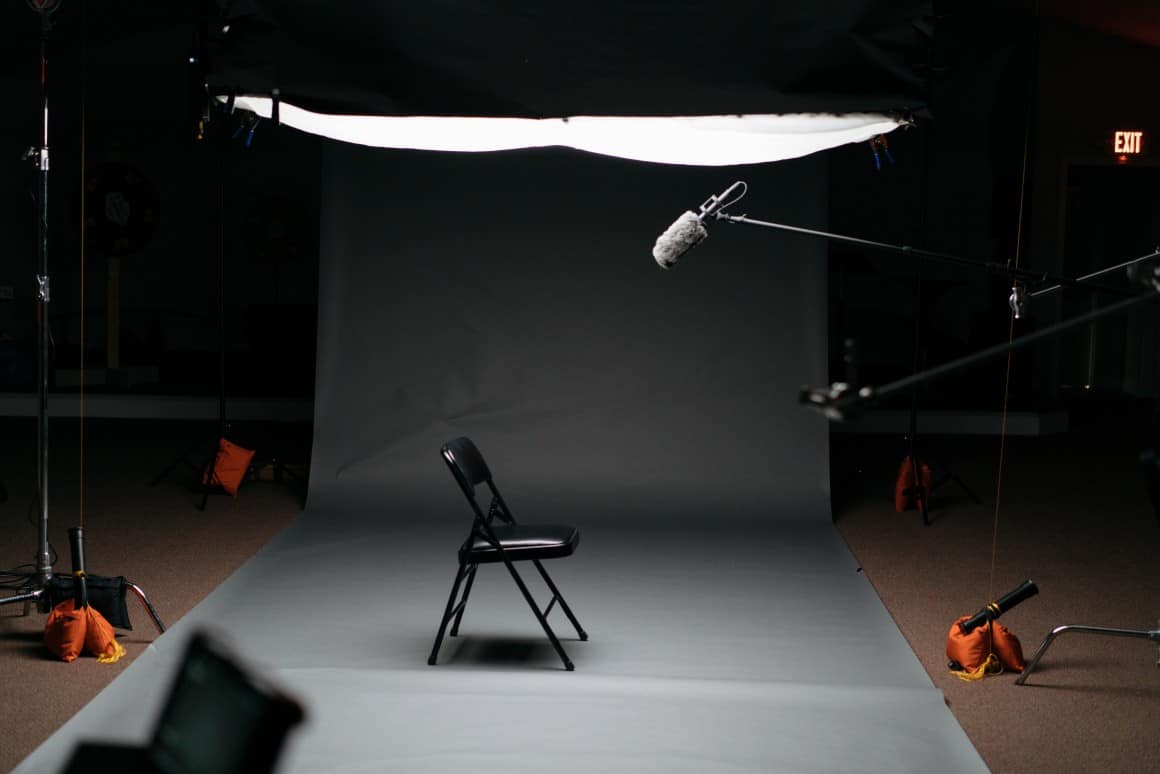
All you need is a quiet room, decent recording hardware, and a skill that people are willing to pay a few bucks to learn.
You can be as out there and unorthodox in your training as your personality entails. So loosen up, turn on a camera, and start with a dry practice run. You’ll be amazed at what comes out of your mouth when rent is due.